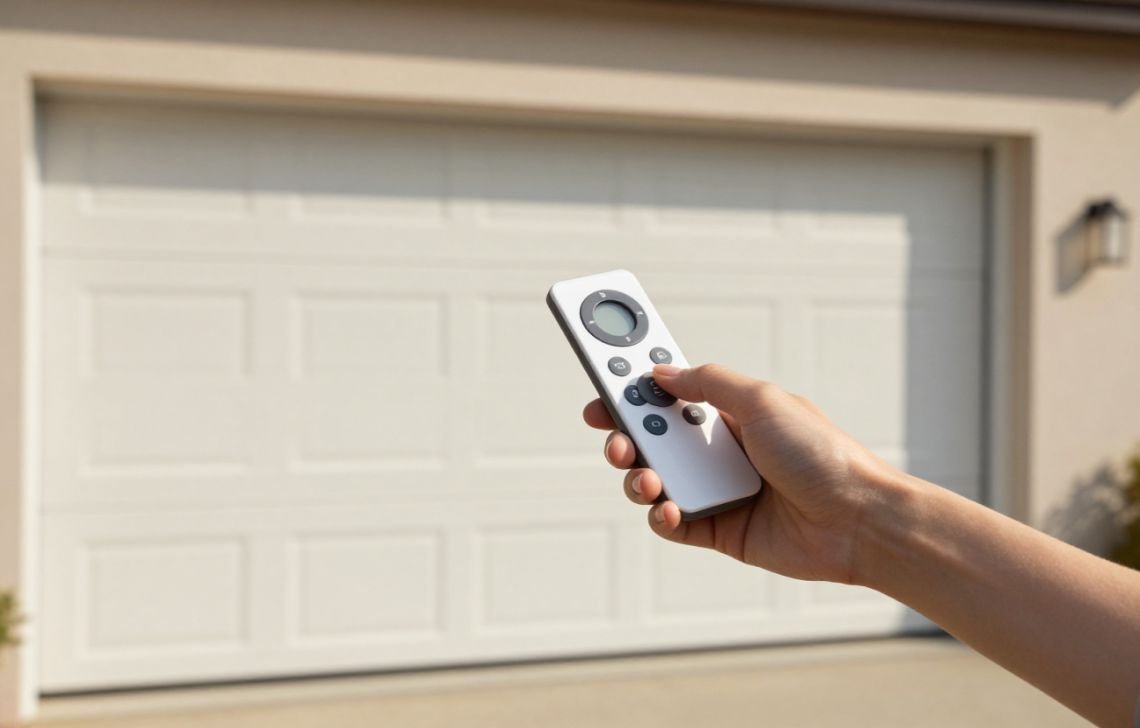
To set a garage door remote control, most modern systems require you to press and immediately release the “Learn” button on the motor unit and then press the desired button on the remote within 30 seconds. This simple DIY synchronization allows homeowners to restore functionality or add new devices without the expense of a professional service call.
Understanding Garage Door Remote Controls
How Garage Door Remotes Work
Automatic garage door openers operate as a pair: a transmitter (the remote) and a receiver (located in the ceiling-mounted motor unit).
- Radio Frequencies: The devices communicate via specific radio waves.
- Frequency Matching: The receiver will only trigger the door if it recognizes the unique signal sent by the transmitter.
- Security Codes: Modern systems use “rolling codes,” which change the signal after every use to prevent hacking.
Why Programming is Necessary
Programming is more than just a setup step; it’s a security measure. You may need to sync your devices if:
- You have purchased a new remote, key fob, or keypad.
- The remote battery was replaced, causing a loss of sync.
- A power outage disrupted the motor’s memory.
- You need to wipe old codes for security (e.g., moving into a new home or after a lost remote).
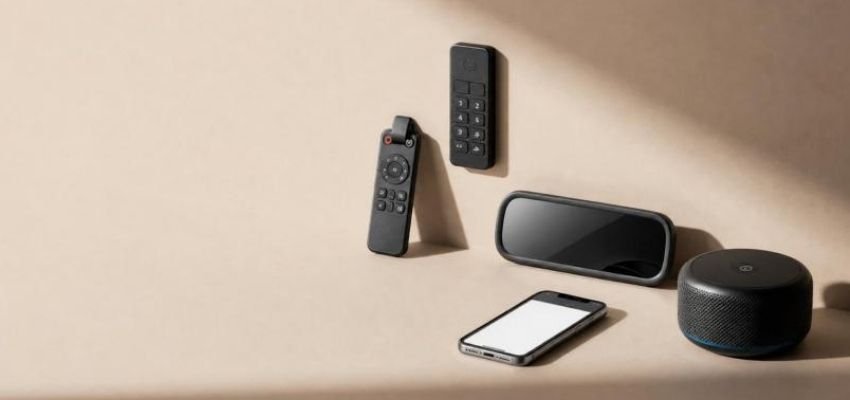
Types of Garage Door Opener Systems
Modern accessibility has expanded beyond the standard “clicker.” Common systems include:
- Standard Remotes: The classic visor-clipped transmitter.
- Keypads: Exterior-mounted units requiring a numerical code.
- Car-Installed Systems (HomeLink): Control panels integrated into your vehicle’s rearview mirror or overhead console.
- Smartphone Integration (myQ): App-based control that allows for remote monitoring.
- Voice Control: Openers that pair with virtual assistants for hands-free operation.
What You Need Before Setting Up Your Remote
Checking Remote Compatibility
Before you climb the ladder, ensure your remote brand matches your motor brand. While universal remotes like the Chamberlain KLIK1U, 893MAX, or 953EV can bridge the gap, most units require brand-specific hardware to communicate correctly.
Pro-Tip: Check Your LED Color As an expert with 15 years in the field, I always tell homeowners to look at the “Learn” button color first. This identifies your frequency:
- Yellow: Security+ 2.0 (310 MHz)
- Purple: 315 MHz
- Red/Orange: 390 MHz Rolling Code
Green: 390 MHz Billion Code
Finding the Garage Door Opener Model
The “Learn” button and model info are typically on the back or side of the ceiling unit. You may need to pop off the plastic light cover to see them.
Safety First
- Use a Sturdy Ladder: Use a self-supporting A-frame ladder on level ground. Never lean a ladder against the tracks.
- Work with a Helper: Especially for car-installed systems or keypads, a helper can press the remote or keypad while you handle the motor unit.
- Clear the Path: Ensure the door’s path is clear, as it may move during the confirmation phase.
Struggling with an old, noisy motor? See our Garage Door Opener Buying Guide to find a modern, quiet replacement.
Step-by-Step: How to Set Remote Control for Garage Door
- Locate the Learn Button: Access the motor unit on the ceiling. Identify the “Learn” or “Program” button (refer to the LED color tip above).
- Activate Programming Mode: Press and immediately release the “Learn” button. The indicator LED will glow steadily.
- Note for Older Models: If your unit is from the 1990s or earlier, you may need to press and hold the button until the light blinks, but for modern Chamberlain/LiftMaster units, a “press and release” is essential to avoid erasing the memory.
- Program the Remote: You have a 30-second window. Press the button on your remote that you wish to assign to this door.
- Confirm the Sync: The opener’s light bulbs will flash, or you will hear two audible clicks. This is the system’s way of saying, “I hear you.”
- Test the Remote: Step away from the motor, wait five seconds, and press the remote button to ensure the door operates smoothly.
Brand-Specific Garage Door Remote Programming
LiftMaster & Chamberlain Remote Setup
Chamberlain-made units offer three convenient ways to pair:
- The Motor Method: The standard “Learn” button process described above.
- The Door Control Method: If your wall-mounted button has its own “Learn” button, press it twice. The LED will blink, then press your remote button.
Smart Control Panel: On LCD models, navigate to MENU > FEATURES > PROGRAM > REMOTE and follow the screen prompts.
Genie, Craftsman, Linear, and Other Brands
Most of these brands follow the “Learn” button logic. However, Genie units often use a “Program/Set” button that you hold until the light turns blue, then press again until it purple-flashes before pressing the remote. Always consult your specific manual if the “press and release” method fails.
Smartphone (myQ) Setup
For Wi-Fi-enabled openers, use the myQ app for a guided experience:
- Open the app and tap the Gear Icon or Plus (+) sign.
- Select Devices > Add a New Device > Accessory > Remote Opener.
- Follow the prompts to select your specific opener and remote model.
- The app will virtually “press” the Learn button for you to finalize pairing.
Car-Installed (HomeLink) Programming
To sync your car’s built-in buttons, follow these specific requirements:
- Location: Park the car directly outside the garage.
- Power: The ignition must be in the “On” or “Accessory” position.
- Step: Hold the car’s program button until the light flashes, then follow the standard “Learn” button sequence on the motor unit.
How to Reset and Reprogram a Garage Door Remote
Clearing Existing Codes
If you’ve lost a remote, you must erase the motor’s memory for safety.
To Erase: Press and hold the “Learn” button for about 6 seconds until the LED goes out.
Reconnecting After a Reset
A memory wipe removes all devices. You must now go back and manually program every remote, keypad, and car system you still own using the Step-by-Step guide.
If your opener is still acting up after a reset, check out our guide on [How to Troubleshoot a Garage Door].

Common Garage Door Remote Problems and Solutions
Issue | Potential Cause | Actionable Fix |
Remote Not Syncing | 30-second window expired | Retrace steps and press the remote button immediately after the Learn button. |
No Response from Opener | Brand Incompatibility | Verify frequencies or use a Universal Remote (KLIK1U/893MAX). |
Limited Range | Weak battery or antenna issue | Replace battery; ensure the motor's antenna wire is hanging straight down. |
Learn Button Unresponsive | Memory is full | Perform a full reset (hold button 6 seconds) and reprogram all units. |
Older Model Issues | No "Learn" button | Check for internal "dip switches" or consult a professional technician. |
Tips to Keep Your Garage Door Remote Working Properly
- Annual Battery Replacement: Don’t wait for the remote to die. Change the 3V lithium or 12V alkaline batteries once a year.
- Safety Reverse Test: Every time you program a new remote, test the door’s safety reverse by placing a 2×4 board in the door’s path.
- Environmental Care: Avoid leaving remotes on the dashboard in extreme summer heat, which can damage the internal circuitry.
Conclusion
Setting a garage door remote is a straightforward task that saves you time and money. By identifying your “Learn” button color and acting within the 30-second programming window, you can maintain a secure and functional home. Always remember: if the remote doesn’t respond on the first try, check the battery and ensure you aren’t holding the Learn button too long. For older, non-standard units, the manufacturer’s manual remains your best resource for specialized dip-switch settings.
FAQs
Can I program a universal garage door remote?
Yes. Models like the Chamberlain KLIK1U, 893MAX, or 953EV are designed for this. However, they often require a specific sequence of button presses to “find” the right frequency before they will pair with the motor.
How long does programming take?
While a DIY project guide might allot 2 hours for a beginner to read instructions, gather a ladder, and test multiple remotes, the actual syncing process usually takes less than 5 minutes per device.
Why is my garage door remote not syncing?
The most common culprit is holding the “Learn” button too long (which erases memory) or a dead battery in the remote. Also, check for LED light interference, as some LED bulbs in the motor unit can block radio signals.
Do I need professional help?
If your unit was manufactured before 1993 and lacks a “Learn” button (using “dip switches” instead), or if the motor unit fails to enter “Learn” mode after a reset, it may be time to call a technician.


