
How long does it take to install a Ring Doorbell? For most homeowners, this is a straightforward DIY project that takes between 15 and 30 minutes. Whether you’re a tech novice or a seasoned DIYer, setting up a Ring system is designed to be accessible and efficient.
Homeowners transition to Ring Video Doorbell to gain immediate peace of mind through enhanced property security. The system offers real-time mobile alerts, remote monitoring, and two-way audio communication that lets you speak with visitors from anywhere in the world. Its versatility is its strongest suit, offering compatibility with major smart home ecosystems and the choice between a quick battery-powered setup or a permanent hardwired installation.
Pre-Installation Checklist: What You Need
Before you grab your drill, ensure you have the right gear. As a technician, I recommend laying everything out on a flat surface first to avoid mid-install frustration.
Required Tools
Tool | Purpose |
Screwdriver | Provided by Ring (Proprietary star-shaped/Torx head). |
Power Drill | For drilling pilot holes into wood or masonry. |
Masonry Bit | Required if drilling into brick, stone, or stucco. |
Pencil | To mark precise hole locations on the mounting surface. |
Level | To ensure the mounting bracket is perfectly straight. |
Measuring Tape | To confirm the recommended mounting height of 48 inches. |
Pre-Flight Steps
- Verify Bandwidth: Don’t just look for Wi-Fi bars on your phone. Open the Ring app at your door and attempt to load a “Live View” or stream a video to ensure the signal can handle high-definition data.
- Fully Charge the Battery: Even for hardwired installs, the battery must be at 100%. A full charge takes 6–8 hours. 1st Gen models show a solid blue ring; 2nd Gen models feature a circular light that becomes fully illuminated when ready.
- Download the Ring App: Install the app and create your account before heading outside.
- Confirm Wiring Compatibility: If wiring to an existing chime, ensure the transformer provides 8–24V AC.
Choosing Your Installation Method
Depending on your living situation, you will choose one of two primary paths.
Battery-Powered (Wireless) | Hardwired |
Best for Renters: No drilling required if using an Adhesive Mount. | Permanent: Replaces an existing doorbell and uses home power. |
Speed: Often takes less than 10 minutes to mount. | Convenience: Eliminates the need to ever recharge the battery. |
Versatile: Can be placed on any flat surface, even without wires. | Reliability: Directly triggers your existing internal chime. |
Step-by-Step How to Install a Ring Video Doorbell
Safety First (Wired Only)
If you are replacing an existing doorbell, turn off the power at the breaker box. Attempt to ring your old doorbell to confirm the power is truly off before touching any wires.
Identifying Your Chime Type
Before mounting, you must know what kind of internal chime you have:
- Mechanical Chime: If it makes a traditional “ding-dong” and has a physical mallet hitting a metal plate, it’s mechanical.
- Digital Chime: If the sound comes from a speaker, it is digital and may require a diode for 1st Gen models.
Mounting the Bracket
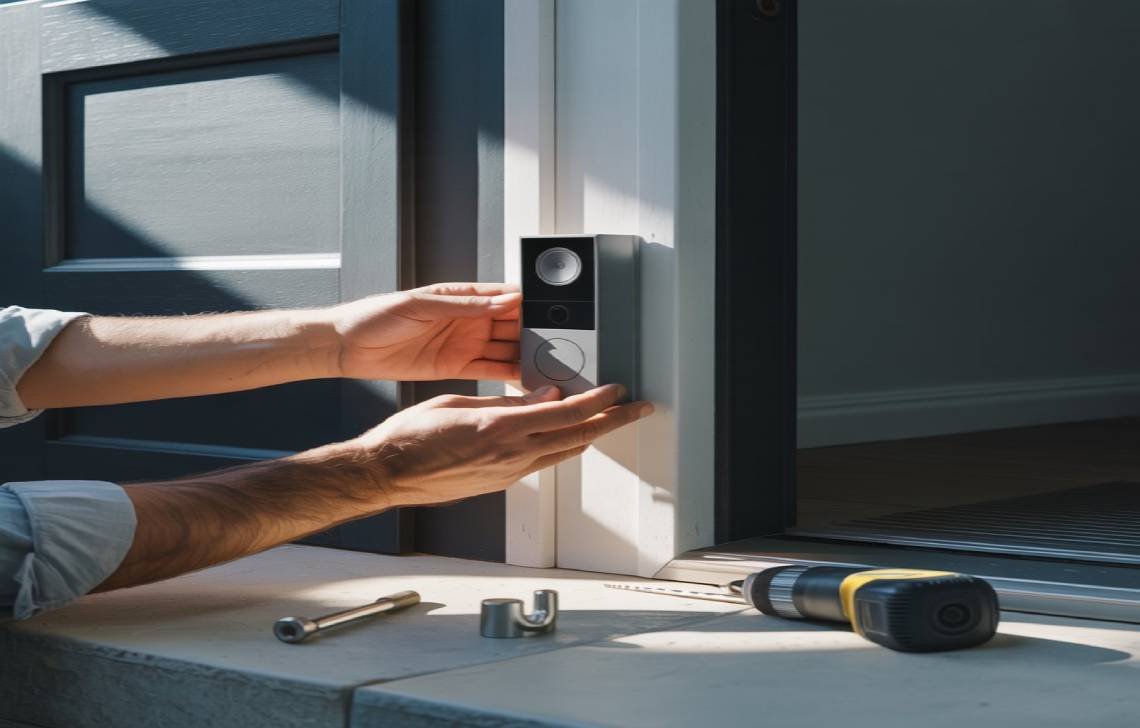
Position the doorbell at the optimal height of 48 inches (4 feet) from the ground.
- Technician’s Pro-Tip: Before drilling, hold the bracket and doorbell in place and check the Live View on your smartphone. This ensures the angle captures faces and packages perfectly before you make permanent holes.
- Marking: Use the included level and mark your four corner holes with a pencil.
- Wood/Siding: Use a standard drill bit to make small pilot holes to prevent the wood from splitting.
- Brick/Stone: Use a masonry bit (and a hammer drill if available) to drill holes for the included white plastic anchors.
Wiring (If Applicable)
Feed the wires through the center of the bracket. Wrap one wire around each of the two screws. Polarity does not matter; either wire can go to either screw. Just ensure the wires are not touching each other.
- The Diode (1st Gen Only): If connecting a 1st Gen Ring to a digital chime, you must use the diode. The small white marking on the diode must face the wire that leads to your internal chime. For 2nd Gen and newer models, this is built-in.
Securing the Device
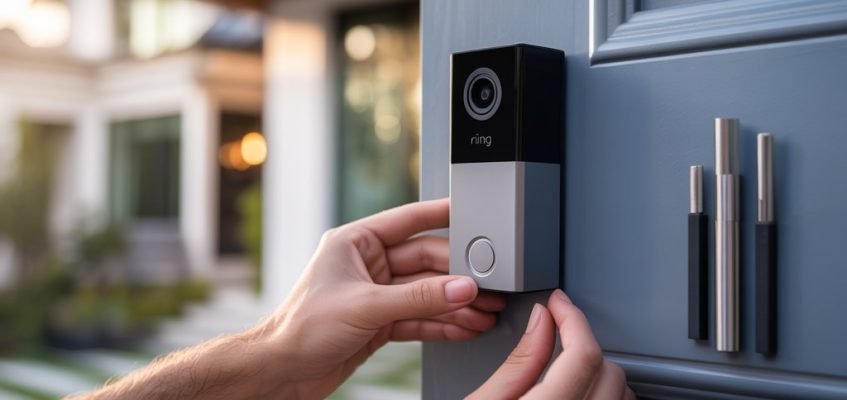
Snap the doorbell onto the mounting bracket. Use the star-shaped security screws and the proprietary orange screwdriver provided by Ring to secure the bottom of the device.
- Warning: Do not lose this screwdriver! You will need it every time you need to remove the device for a battery charge.
Digital Setup in the Ring App
- Open the Ring app and select “Set Up a Device”.
- Scan the QR Code: This is found on the back of the device or on the instruction manual. Note: On some models, the code is hidden under the mounting plate, so scan it before you screw the plate to the wall.
- Wi-Fi Connection: Connect to your home network (have your password ready). Look for the blue light to flash four times to confirm a successful connection.
- Optimization: Set your “Motion Zones” to exclude high-traffic streets and avoid “phantom” alerts.
Post-Installation Testing Protocol
- Chime Test: Press the button. Your internal chime should ring (if wired) and your phone should alert you instantly.
- Live View Check: Verify the image is clear and the angle covers the entire porch.
- Two-Way Talk: Speak into your phone to ensure the doorbell speaker and microphone are functioning.
Motion Test: Walk toward the door to confirm the motion sensors trigger at the correct distance.
Common Installation Mistakes to Avoid
- Ignoring the 48-inch Rule: Mounting too high (at eye level) often results in seeing the tops of heads rather than faces and packages.
- Skipping the Wi-Fi Test: Drilling holes only to realize the signal can’t penetrate your exterior wall is a common headache.
- Losing the Security Screws: These are proprietary. Without them, your doorbell is an easy target for theft.
Wiring Shorts: Forgetting to turn off the breaker or allowing the two doorbell wires to touch can blow your transformer.
Troubleshooting Common Issues
Q: My device won’t power on. A: If wireless, ensure the battery is fully charged (solid light). If wired, check your breaker and ensure the wires are securely wrapped around the bracket screws.
Q: The Wi-Fi signal is poor or dropping. A: Exterior walls (brick/stucco) are notorious for blocking signals. Use a Ring Chime Pro or a Wi-Fi extender placed inside the house, near the front door.
Q: The video is blurry or “foggy.” A: Most new units have a thin, clear plastic film over the lens. Peel this off to restore high-definition clarity.
Pro-Tips for Peak Performance
- Adjustable Angles: If your door is elevated or in a corner, use a Wedge Kit (to tilt down) or a Corner Kit (to angle sideways) for a better field of view.
- Audible Alerts: If you don’t always have your phone, add a Ring Chime to any indoor outlet to hear the doorbell throughout the house.
- Solar Power: If your door gets plenty of sun, a Solar Charger mount can keep your battery topped off indefinitely.
Firmware: Check the app settings weekly for firmware updates to ensure you have the latest security patches.
Conclusion
Installing a Ring Video Doorbell is one of the most rewarding “quick wins” in home automation. By following this guide—particularly checking your viewing angles before drilling and ensuring your diode orientation is correct—you’ll have a professional-grade security setup in under half an hour. Once the security screws are in, you can rest easy knowing your home is always within reach.
(FAQs)
Do I need an electrician?
No. These systems use low-voltage wiring (8–24V) which is safe for DIYers. However, if you have no existing wiring and want a hardwired look, an electrician can run new lines.
Is a subscription required?
A subscription is not required for live viewing or alerts. However, to record, save, and share video clips, you will need a Ring Protect Plan.
Wired vs. Wireless: Which is better?
If you have wires, use them—it’s “set it and forget it.” If you’re a renter or lack existing wiring, the wireless 2nd Gen model is the industry standard for ease of use.
How long does the battery take to charge?
Expect a full charge to take roughly 6 to 8 hours.