
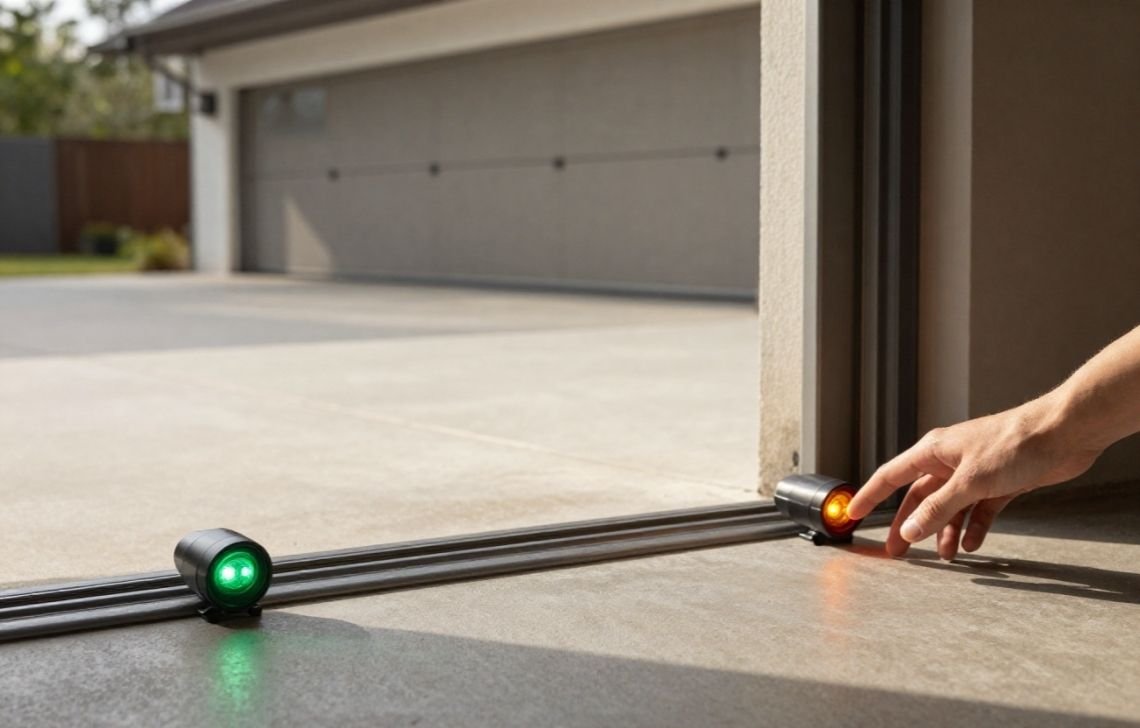
The most effective way to fix a garage door sensor is to clean the lenses with a soft, lint-free cloth and realign the sensors until the LED indicator lights glow steadily. Most sensor issues are caused by simple obstructions or physical displacement rather than a total electrical failure.
These “photo-eye” sensors have been a mandatory safety requirement for all automatic garage doors since 1993. Their job is to maintain a “safety loop” by projecting an infrared beam across the door opening to prevent the door from closing on children, pets, or vehicles. Because these units are mounted just inches off the floor, they are frequently bumped, covered in dust, or exposed to moisture, making them the primary reason a garage door refuses to close.
How Garage Door Sensors Work
Garage door sensors operate as a two-part system: a sending unit and a receiving unit. The sending unit (identifiable by a steady green LED) emits an invisible infrared beam. The receiving unit (identifiable by a steady red LED) looks for that specific beam.
If the beam is broken by an object or the sensors are knocked out of alignment, the “safety loop” is interrupted. The garage door opener’s logic board then triggers an auto-reverse feature, causing the door to stop and reverse direction immediately to prevent a crushing injury.
Signs Your Garage Door Sensor Is Not Working
As a technician, I look for these specific red flags to diagnose a sensor failure quickly:
- The “Safety Bounce”: The door begins to close but reverses and returns to the open position.
- The No-Start: The door refuses to move downward at all when you press the button.
- Indicator Malfunctions: One or both sensor lights are dark, flickering, or “shaking.”
- The Console Signal: The light on your wall-mounted control panel or the main motor unit is flashing.
- Intermittent Failure: The door works fine at night but fails during sunrise or sunset (a classic sign of sunlight interference).
Common Causes of Sensor Problems
- Dirt and Debris: Dust, spider webs, and car exhaust residue can cloud the lens.
- Misalignment: Vibrations from the door or a bump from a trash can can shift the brackets.
- Sunlight Interference: Powerful infrared rays from the sun can “blind” the receiving sensor.
- Wiring Damage: Pests chewing on wires or staples being driven too deep into the insulation can cause a short.
- Moisture Exposure: Humidity, rain, or poorly aimed garden sprinklers can short-circuit the internal boards.
Tools You May Need
- Soft, lint-free cloth (microfiber is best)
- Screwdriver (Phillips or Flathead, depending on your brackets)
- Step ladder
- Level or measuring tape
- Pliers and wire cutters
- Blue wire nuts (if replacing units)
- Work gloves and safety glasses
Step-by-Step: How to Fix Garage Door Sensors
Step 1: Clean the Sensor Lenses
Begin by wiping the glass lens on both the sending and receiving units with a dry, soft cloth. Avoid using harsh chemicals that could cloud the plastic. If you see condensation trapped inside the lens, you may need to unscrew the metal housing to wipe the components dry.
Step 2: Clear the Path
Inspect the floor area between the sensors. Even a small cobweb, a stray leaf, or a protruding tool handle can break the beam. Ensure the path is 100% clear of all obstructions.
Step 3: Align the Sensors Perfectly
The sensors must face each other directly. If the LED lights appear to be “shaking,” “flickering,” or are blinking red, they are misaligned.
- Technician’s Rule: The Green LED (Sender) must be steady first. If it is off or blinking, the receiver will never work.
- Once the green light is solid, gently adjust the Red LED (Receiver) unit until the blinking stops and the light glows steadily.
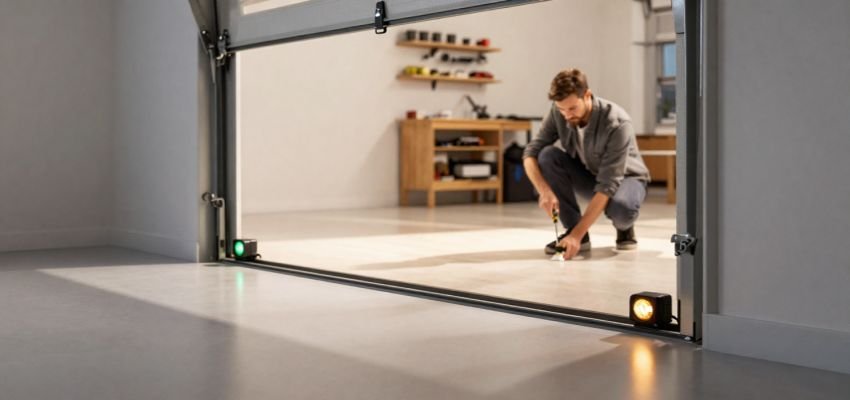
- Use a tape measure to ensure both sensors are exactly the same height from the floor (usually 6 inches).
Step 4: Inspect and Secure the Wiring
WARNING: Before touching the wiring terminals on the motor unit, you must unplug the garage door opener from the power outlet to prevent electrocution. Check the wire connections at the back of the opener. Ensure the wires are snug under the terminal screws:
- White wires must connect to the White terminal.
- Black/White striped wires must connect to the Gray terminal. Ensure you haven’t stripped too much insulation, as exposed copper wires touching each other will cause a short. Inspect the full length of the wire for chew marks or water damage.
Step 5: Check Sensor Indicator Lights
Use this diagnostic chart to confirm your progress:
- Steady Green & Steady Red: The system is aligned and ready.
- Blinking Red: The sensors are misaligned or the beam is blocked.
- Blinking Orange: This typically indicates a wiring fault or a short in the system.
- Both Lights Off: No power is reaching the sensors; check the outlet or the circuit breaker.
Step 6: Perform the Safety Test
Once the lights are steady, test the repair. Place a solid object (like a cardboard box) in the door’s path and try to close it. The door should immediately reverse.
Note: On most modern models, the lights on the motor unit will blink several times to confirm the sensors successfully detected the obstruction.
Advanced Troubleshooting
Sunlight Shielding If the door only malfunctions when the sun is at a low angle, the receiver is being overwhelmed. Use a small piece of cardboard to create a “sun shield” or “hood” around the sensor lens. Ensure the shield does not block the line of sight to the opposite sensor.
Replacing Faulty Sensors If the LEDs remain dark despite having power, the internal logic board may be fried. To replace them:
- Unplug the opener.
- Cut the old wires, leaving about an inch of slack for the new connection.
- Strip the ends and use blue wire nuts to connect the new sensors, matching the colors (white to white, black/white to black/white).
- Mount the new units and align as described above.
The Manual Release (Bypass) If you must operate the door while waiting for parts, pull the red manual release cord.
- Safety Tip: If the door is stuck in the open position, prop it up with a piece of wood before pulling the cord to ensure it doesn’t crash down if a spring is weak.
- Once disengaged, you can move the door by hand. Be aware that this disables the auto-reverse safety feature entirely.
When to Call a Professional
DIY is great for alignment and cleaning, but call a technician if:
- The wiring is buried behind finished walls or ceilings.
- The sensor lights are steady, but the motor still refuses to function.
- You notice broken springs or frayed cables; these components are under extreme tension and can be lethal if handled without the proper tools.
Preventive Maintenance Tips
- Annual Cleaning: Make it a habit to wipe the lenses every spring and autumn.
- Tighten Brackets: Check the wing nuts and mounting screws every six months; vibrations from the door’s operation can slowly loosen them.
Landscaping: Ensure your lawn sprinklers are aimed away from the garage to prevent water intrusion into the sensor housings.
FAQ
Why won't my garage door close all the way?
In 90% of cases, the safety sensors are the culprit. If they are dirty, misaligned, or blocked, the opener “thinks” an object is in the way and will reverse the door for safety.
How do I know if my garage door sensors are bad?
Look at the LED lights. If they are blinking, “shaking,” or completely off, the sensors are either misaligned, disconnected, or have failed. A steady green and red light indicates they are functioning correctly.
Can I bypass my garage door sensors temporarily?
The only safe way to bypass them is by pulling the red manual release cord to operate the door by hand. Never attempt to tape the sensors together or bypass the electrical loop, as this creates a significant safety risk.
How long do garage door sensors last?
Typically, you can expect a 10 to 15-year lifespan. However, sensors in humid or coastal environments may fail sooner due to corrosion.
Is it easy to replace garage door sensors myself?
Yes. If you can use pliers and wire cutters, you can replace a sensor set in about 15–20 minutes. Just remember to always unplug the motor before starting any electrical work.