
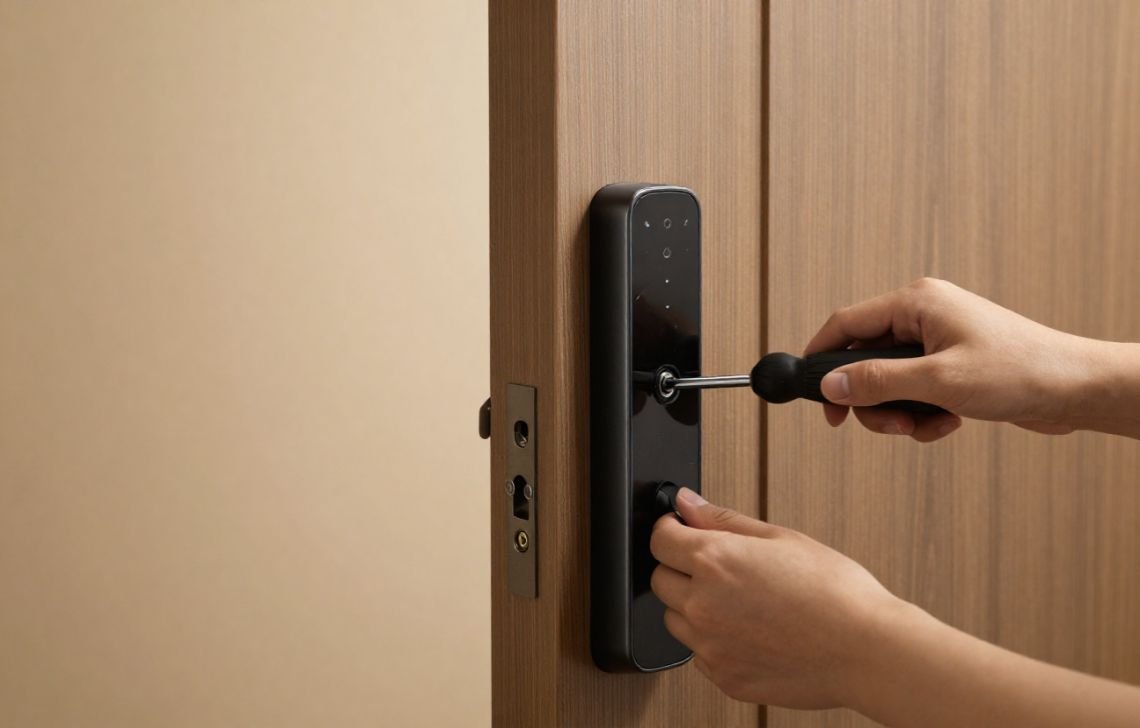
To remove a Yale smart lock, you must first remove the interior battery cover, extract the batteries, and carefully disconnect the internal wire harness by its plastic housing. It is essential to support the exterior keypad by hand while unscrewing the interior mounting plate to prevent the unit from falling and sustaining damage. For smart models, the lock must be digitally excluded from your hub (such as Alarm.com) prior to physical removal to prevent “ghost device” errors and system communication failures.
Introduction: Why Removal Requires Precision
Whether you are upgrading to the latest Assure series, troubleshooting a non-responsive unit, or relocating, removing a Yale smart lock is a task that requires a methodical, technician-level approach. Proper removal preserves the integrity of both the hardware and your door’s finish, ensuring the components remain viable for resale or future use.
This guide is designed to help homeowners avoid common “$200 mistakes,” such as dropping the exterior keypad assembly onto a hard surface or stripping the specialized mounting screws. Beyond physical care, we will address the critical digital requirements of smart hardware. Failing to follow the correct exclusion sequence can result in “ghost devices” within your Z-Wave network—residual digital connections that cause significant battery drain and block the addition of new hardware to your smart home ecosystem. If you are also comparing your options before replacing the lock, see our Best Smart Door Locks: Buying Guide for additional guidance.
Essential Tools and Prep Work
Before you begin, gather these specific tools to ensure a smooth removal process:
- Magnetic-tip Phillips screwdriver: This is non-negotiable for securing small screws in tight spaces and preventing them from vanishing into the door’s wood grain or cavity.
- Small container or labeled egg carton: To organize hardware in the order it was removed.
- Soft towel: To protect the door’s finish and provide a cushion for the keypad.
- Utility knife: To score paint seals if components are bonded to the door.
- The Tape Trick: If you do not have a magnetic screwdriver, wrap a small piece of tape—sticky side out—around the tip of a standard screwdriver to improve screw retention.
Pro Tip: Before disconnecting any cables, use your phone camera to take a clear photo of the wire routing and connector orientation. This reference is invaluable if you ever need to reinstall the hardware or troubleshoot a “pinched wire” error later.
Critical Safety and Digital Pre-Steps
Safety and system synchronization are your first priorities. Ensure the door is in the unlocked and open position before you start. Keeping the door open is vital because it prevents alignment shifts and, more importantly, reduces unnecessary strain on the internal spindle mechanism during disassembly.
Digital Exclusion Instructions
If your lock is connected to a Z-Wave hub or Alarm.com, you must disconnect it digitally before touching the hardware. Removing the hardware first “traps” the lock in your network.
On the Control Panel (e.g., 2GIG):
- Navigate to Security > More > Tools > Program.
- Select Z-Wave Options > Remove Device.
- The panel will display “Remove Device Mode Active”. You have a 30-second window to complete the lock-side sequence before the panel times out.
On the Yale Lock Keypad:
- Enter your Master Programming Code (default is 1234).
- Press the digit 7, followed by the digit 3.
- Listen for a single beep and a green LED flash. No beep means the exclusion failed. If you miss the 30-second window, you must restart the process at the panel.
Verify the removal by checking your Alarm.com app; the device should no longer appear in your equipment list.
Step-by-Step Physical Removal (YRD256 & Similar Models)
Follow these steps in order to protect the delicate internal electronics.
Step 1: Interior Battery Cover
Locate the single Phillips screw at the base of the black interior cover. Never pry the cover upward. Forcing or prying the cover can damage the latch sensor housing, which will lead to persistent, false “door ajar” notifications if the lock is reinstalled. Remove the screw completely and lift the cover straight toward you.
Step 2: Power and Z-Wave Module
Remove all four AA batteries to cut primary power. Locate the green Z-Wave chip at the top of the assembly. Pull it straight out without twisting. Handle the chip by the edges only; oils from your skin can degrade the circuitry over time. Store it in an anti-static bag.
Step 3: The Wire Harness
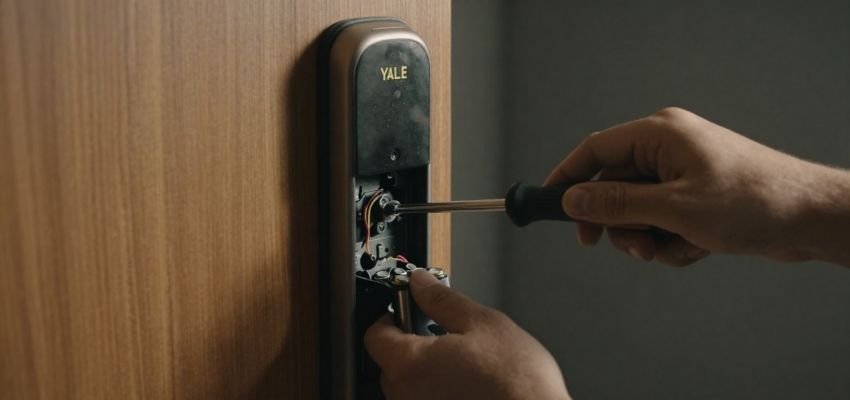
Identify the white multi-pin connector. Grip the plastic housing only—never pull on the wires themselves. These units use delicate ribbon cables that can easily sever or fray if tension is applied to the wires, necessitating a full lock replacement. You should hear a soft “click” when it is successfully disconnected.
Step 4: Mounting Plate and Exterior Support
Critical Warning: Place your non-dominant hand firmly against the exterior keypad before loosening the interior mounting screws. Once these are out, the exterior unit is completely unsecured. Depending on your specific Yale Assure model, you will find two or three screws securing the interior escutcheon plate. Remove these screws and slide the interior plate off the spindle while keeping the exterior unit steady.
Removing the Latch and Deadbolt Mechanism
Once the main housing is removed, extract the mechanical components:
- Unscrew the two screws on the latch plate at the edge of the door.
- Pull the deadbolt mechanism straight out of the bore hole.
- Inspect the 2-1/8″ bore hole for wood splinters or leftover adhesive that could interfere with your new hardware.
Model-Specific Differences: Traditional vs. Smart
Traditional Yale locksets often utilize a “Hidden Release Pin” system rather than the visible screws found on the YRD256.
- Locating the Pin: Look for a tiny 1/16″ pinhole on the decorative collar (usually at the 3 or 9 o’clock position).
- The Paperclip Method: Insert a straightened paperclip to depress the retainer pin and pull the lever straight off.
- The “Technician’s Drill” Tip: If the pinhole is completely sealed by years of paint, use a 5/32″ drill bit to drill a hole approximately 1/8″ from the collar edge. Stop drilling immediately when the resistance drops; this indicates you have pierced the retainer and can now release the handle.
Troubleshooting: Handling Stuck Components
- Paint Seals: If the components are bonded to the door by paint, score the perimeter with a utility knife held at a 30-degree angle to break the bridge without scratching the wood.
- Corroded Screws: Apply a penetrating oil like PB Blaster and let it soak for 30 minutes. Use the “rubber band trick”: place a wide rubber band over the screw head before inserting the screwdriver to provide extra grip on a rounded head.
- Stripped Screws: Use firm, short pulses of force rather than continuous turning to prevent further damage to the screw.
Restoring or Preparing the Door for New Hardware
- Cleaning: Use isopropyl alcohol to remove grime or adhesive residue. Warning: Never use acetone, as it will strip or damage most wood finishes and many plastic components.
- Verification: Verify your bore hole is the standard 2-1/8″ required for modern Yale upgrades.
- Strike Plate: Always remove the old strike plate from the door frame; using a mismatched strike plate is the leading cause of deadbolt binding and motor failure.
Resetting and Storage Tips
If you intend to sell or move the lock, perform a factory reset (typically via a button near the wire harness) to erase all security codes. For storage, keep all screws in the labeled egg carton or small bags. Yale uses specialized fasteners that are often difficult to find at local hardware stores.
Conclusion & Final Maintenance Check
The golden rule of Yale hardware maintenance is to always support the exterior keypad while the interior screws are loose. By prioritizing digital exclusion first and treating the delicate ribbon cables with care, you ensure your high-end security hardware remains a functional asset rather than a $200 piece of scrap.
FAQs
What happens if I remove the lock before disconnecting it from the app?
This creates a “ghost device.” Your hub will continuously attempt to “ping” a lock that isn’t there, causing network lag and leading to rapid battery drain once the lock is eventually reinstalled or replaced.
Can I reuse the Z-Wave chip in a different Yale lock?
Yes, but you must handle it by the edges and store it in an anti-static bag. Ensure the new lock is compatible with that specific Z-Wave module generation.
Why is my interior cover stuck even after removing the screw?
This is usually a “paint bridge.” The cover has bonded to the door or the interior plate. Score the edges with a utility knife to break the seal.
How do I remove the lock if I lost the Master Code?
You cannot perform a digital exclusion without the code. You will need to physically remove the lock and then use the physical reset button (located near the wire harness) to clear the memory and reset the Master Code to factory defaults.