

To change the Wi-Fi network on a Ring Video Doorbell or security camera, follow this quick sequence in the mobile app:
- Open the Ring App and select your specific device.
- Tap the Settings gear icon and select Device Health.
- Under the Network section, tap Change Wi-Fi Network.
- Follow the prompts to put your device in Setup Mode and enter your new credentials.
Whether you have upgraded to a high-speed Wi-Fi 6 router or recently moved, keeping your security hardware connected is vital. As a security specialist, I cannot overstress that an offline camera is a blind spot in your home’s defense; updating your connection promptly ensures you avoid dangerous “blackout” periods where motion is not recorded and alerts are not sent.
Preparation: What You’ll Need Before Starting
Before you begin the transition, gather the following to ensure the process takes no more than three minutes:
- Smartphone or Tablet: Ensure the Ring App is updated to the latest version.
- New Network Credentials: Have your new Wi-Fi name (SSID) and password ready.
- Physical Access: You must be standing near the device. For some doorbell models, you may need your Ring security screwdriver to remove the faceplate if a manual button press is required.
Pro-Tip: Your Ring device will be completely offline during this transition. This means all recording, motion detection, and live view capabilities will be disabled until the new connection is established. Plan to do this when home activity is low.
Step-by-Step Guide: Changing Your Ring Wi-Fi Network
This process is standardized across the Ring ecosystem, whether you are updating a Video Doorbell or a Stickup Cam.
- Step 1: Access Device Settings. Open the Ring App. From the dashboard, tap the tile of the device you want to update (e.g., Front Door or Stickup Cam).
- Step 2: Navigate to Device Health. Tap the gear icon (Settings) in the top right corner. From the menu list, scroll down and select Device Health.
- Step 3: Initiate the Network Change. Look for the Network header. Tap the link titled Change Wi-Fi Network.
- Step 4: Enter Setup Mode. A pop-up will warn you that the device will disconnect from its current network. Tap Continue. Your Ring device will soon begin flashing a blue light. Note: The camera may “talk” to you at this stage, announcing that it is entering “Setup Mode.” Don’t let the audio feedback startle you—it is a normal part of the handshake process.
- Step 5: Complete Configuration. Select your new network from the list and enter the Wi-Fi password. The app will finalize the “handshake,” and your device will automatically reconnect.
What to Expect During the Process (Expert Insights)
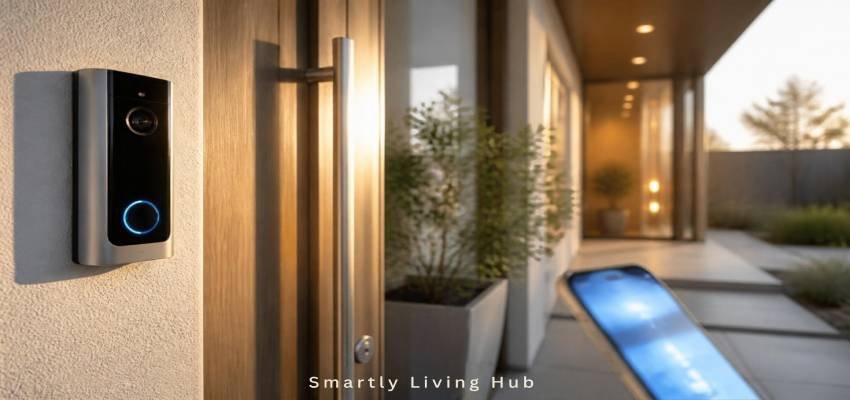
During setup, the Ring device uses its LED ring and internal speaker to communicate its status. Knowing these cues can help you identify if the router is rejecting the connection or if the device is simply processing.
Troubleshooting Visual Cues
Indicator | Meaning | Expert Action |
Flashing Blue Light | Device is in Setup Mode | Proceed with the app instructions immediately. |
Disconnected Pop-up | Expected transition state | This is normal; tap Continue to proceed. |
Solid Red Light | Incorrect Wi-Fi Password | Double-check your credentials and restart Step 3. |
Spinning White | Connection in Progress | Wait 60 seconds; the device is communicating with the router. |
Common Mistakes to Avoid
- The “Setup Bubble” Breach: For a successful handshake, your phone, the Ring device, and the router should all be within a 10–15 foot “setup bubble” during configuration.
- Case Sensitivity: Wi-Fi passwords are case-sensitive. A single lowercase letter instead of an uppercase one will result in a “Failed to Connect” error.
- Skipping Device Health: Users often look for network settings under “General Settings.” Remember: all connectivity controls are housed exclusively within the Device Health dashboard.
Next Steps: Optimizing Your Smart Home
Now that your device is back online, ensure it stays that way with these expert resources:
- Ring Video Doorbell Buying Guide: Is it time for an upgrade? See which model fits your home.
- Optimizing Wi-Fi Signal for Outdoor Security Cameras: Learn how to eliminate lag and “low-voltage” errors.
- Smart Home Security Best Practices for Beginners: Secure your network against unauthorized access.
Reconnecting vs. Factory Resetting: Knowing the Difference
Impact on Data: Will Changing Wi-Fi Delete Recordings or Settings?
Changing your network settings through the “Device Health” menu will NOT delete your saved cloud recordings, shared user access, or personalized motion zones. Your configurations are tied to your Ring account, not the local network. However, be aware that the device will remain in a “dark” state—unable to monitor or record—until the new connection is fully established.
How to Monitor Connection Quality via RSSI
As a security consultant, I recommend checking your Signal Strength (RSSI) immediately after a Wi-Fi change.
- Navigate back to Device Health.
- Locate the RSSI value under the Network section.
- The Professional Scale:
- -30 to -50: Excellent signal strength.
- -60 to -70: Marginal connection. If your device sits in this range, you may experience “black” video or delayed notifications.
- Solution: Rather than simply moving the router, I recommend installing a Ring Chime Pro. This device acts as a dedicated Wi-Fi extender specifically for Ring hardware, stabilizing the RSSI.
Conclusion
Updating your Ring device’s Wi-Fi is a simple but critical maintenance task. By utilizing the Device Health section of the Ring App, you can ensure your home security remains uninterrupted. To maintain peak performance, I recommend performing a monthly “Device Health” check to monitor your RSSI (Received Signal Strength Indicator)—ensuring your signal is strong enough for clear, 1080p HD streaming.
FAQs
Do I need to uninstall my doorbell to change the Wi-Fi?
No. You do not need to remove the mounting bracket. The process is initiated through the Ring App software, though you must be physically present near the device.
What if my device doesn't start flashing blue?
If the Change Wi-Fi Network command doesn’t trigger the light, you may need to briefly press the physical setup button on the device (usually located under the faceplate or on the back).
Will I lose my recorded videos if I change the Wi-Fi?
Not at all. Your video history and account settings are stored in the Ring Cloud. Changing the network only changes how the hardware “talks” to the internet.
Does this process work for Ring Stickup Cams too?
Yes. The UI steps in the Ring App are identical for all Ring doorbells and cameras.