
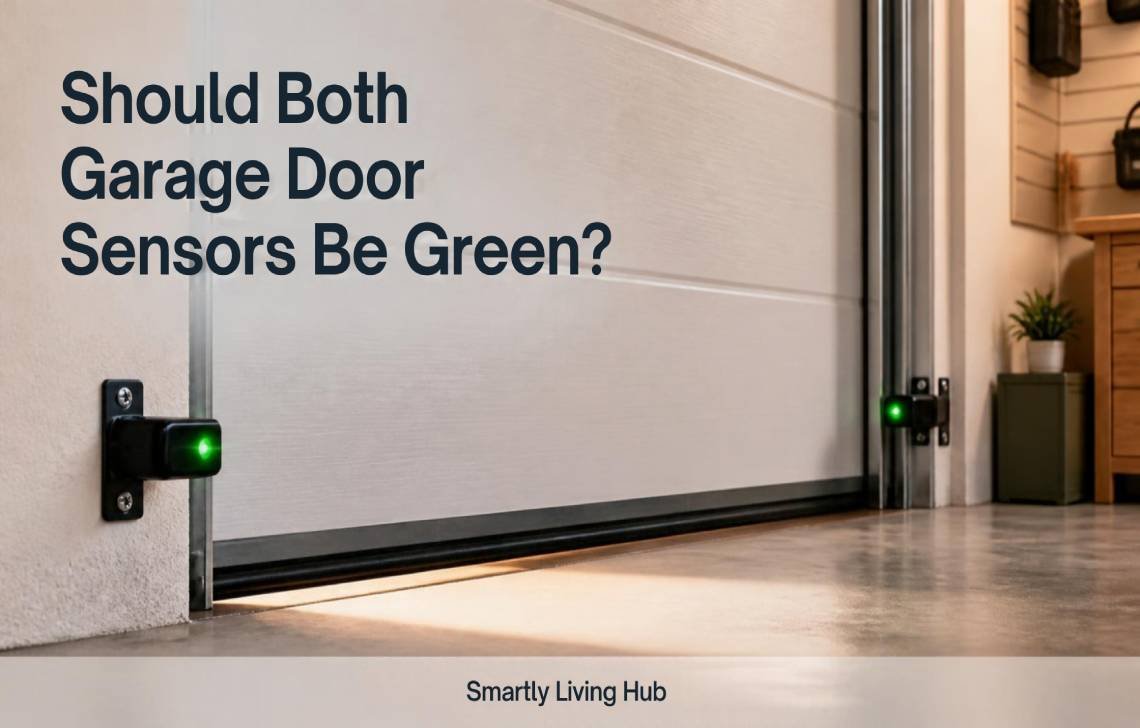
Whether both garage door sensors should be green depends entirely on the brand and model of your opener. While some systems use dual green lights, many modern systems (like LiftMaster or Chamberlain) use an amber, orange, or red light for the transmitter and a green light for the receiver. The universal rule is that a solid green light on the receiving sensor is the only definitive indicator of a successful connection and a safe system.
Introduction to Garage Door Safety Sensors
In my years in the field, I’ve seen many homeowners puzzled by these little “photo-eyes.” These sensors aren’t just accessories; they are a critical safety requirement. Per UL 325 safety regulations, every residential garage door opener manufactured since January 1, 1993, must have a functional entrapment protection system.
Their purpose is simple but lifesaving: they prevent a heavy door from closing on people, pets, or vehicles. If the invisible infrared beam between the two sensors is broken while the door is in motion, the system triggers a “safety reversal,” causing the door to stop and immediately return to the open position.
How the Photo-Eye System Functions
The system relies on a continuous electronic “handshake” between two components:
- The Sending Sensor (Transmitter): This unit projects the invisible infrared beam across the opening.
- The Receiving Sensor: This unit “listens” for that specific beam. It must detect a constant signal to allow the opener’s motor to close the door.
The LED lights on the sensors are your only window into the system’s logic. If the receiver doesn’t “see” the transmitter, it tells the opener to stay put for safety.
Decoding the Colors: Should Both Be Green?
One of the most common service calls I get starts with: “One of my lights is orange; is it broken?” Not necessarily. Here is how to decode what you’re seeing:
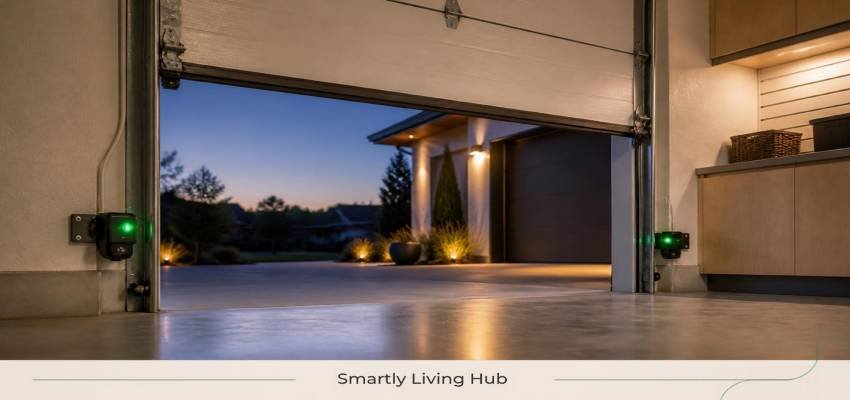
- Case A (Dual Green): On some brands, both the transmitter and receiver will glow solid green when the system is powered and aligned.
- Case B (Amber & Green): This is the most common setup for modern units. The Transmitter shows Amber, Orange, or Red (indicating it has power and is sending a beam), while the Receiver shows Green (confirming it has caught the beam).
- Case C (Unlit Transmitter): On certain specific models, the transmitter may not have an LED light at all by design. Don’t assume a dark sensor means a blown circuit until you check your manual.
Quick Color Reference Guide:
- Solid Green (on the Receiver): Beam received; alignment is perfect.
- Solid Amber/Orange/Red (on the Transmitter): The unit has power and is actively sending the beam.
- Blinking Light (Any color): Indicates a signal interruption, a blockage, or misalignment.
- No Light: Indicates a power loss, a wiring failure, or—on specific models—normal operation for a transmitter.
Why Your Sensors Aren't Working (Common Culprits)
When the door refuses to close, the #1 thing that trips up homeowners is a failure to look for these four issues:
- Physical Obstructions: I’ve found everything from trash cans and brooms to tiny spiderwebs or insect nests blocking the lens.
- Misalignment: Sensors are easily bumped by a trash can or a car bumper. Even a fraction of an inch off-parallel can break the “handshake.”
- Lens Contamination: A thin film of dust, dirt, or grime can build up on the glass, weakening the signal until it fails.
- Environmental Interference: Direct sunlight—especially for garages that face the afternoon sun—can “blind” the receiving sensor. Even reflective surfaces near the sensors can bounce the infrared light and confuse the receiver.
Step-by-Step DIY Troubleshooting Guide
Before you call a pro, try these steps to get your door moving again:
- Clear the Path: Remove all objects between the sensors and clear away any cobwebs hanging from the tracks.
- Clean the Lenses: Use a soft, dry cloth to gently wipe the glass lens on both sensors.
- Check Alignment: If the green light is blinking, the sensors are likely misaligned. Loosen the wing nut on the mounting bracket, pivot the sensor until the LED turns solid, and then retighten the nut.
- Inspect the Wiring: Check the back of the sensors for frayed or disconnected wires. Look specifically for the standard white-and-black wires. Check if any wiring staples have been driven too deep, pinching or cutting the insulation and causing a short.
- Sunlight Shielding: If the door only fails when the sun is hitting it, try shading the receiving sensor with a piece of cardboard. If the light turns solid, you may need to adjust the sensor’s position or add a permanent sunshield.
CRUCIAL SAFETY WARNING: THE DANGERS OF BYPASSING
Never bypass, disable, or tape over your safety sensors.
Disabling these devices is a direct violation of federal safety law under the Consumer Product Safety Improvement Act (UL 325). In my professional experience, there is no “quick fix” worth the risk. Courts have held homeowners legally responsible for wrongful death and claims of negligence when safety sensors were intentionally bypassed. Furthermore, if an injury occurs, your homeowners’ insurance carrier may deny the claim, and you could face massive personal liability for what the law considers a preventable accident.
When to Call a Professional Technician
While most sensor issues are DIY-friendly, call a specialist if:
- The sensor lights remain dark even after you’ve verified the opener has power.
- There is significant wire damage (often caused by rodents chewing through lines).
- The green light continues to blink despite perfect alignment and clean lenses, suggesting an internal circuit board failure.
- Safety Note: Never attempt to repair or adjust high-tension components like springs or cables yourself; these require specialized tools and training.
Preventive Maintenance Checklist
- Quarterly Cleaning: Wipe the lenses every three months to prevent grime buildup.
- Bracket Tightness: Periodically check that mounting brackets haven’t vibrated loose.
- Pest Inspection: Check the length of the wires for signs of chewing or fraying once a season.
Conclusion
A solid green light is your signal of a safe, functional home. While different brands use different color schemes for the transmitter, the receiver’s green light remains the gold standard for safety. Keep your sensors clean, aligned, and—most importantly—active. Your family’s safety is worth more than the few minutes it takes to fix a alignment issue properly.
FAQs
Can both sensors be green?
Yes. Brand-specific models use green for both. The “all-clear” signal is always a solid green light on the receiving unit.
Why is my garage door sensor blinking green?
A blinking green light on the receiver means the infrared beam is being blocked or the sensors are slightly out of alignment.
Can I bypass the sensors just to close the door?
In a true emergency, most openers allow you to override the sensors by pressing and holding the wall button until the door is fully closed. Do not use this as a permanent solution; it is a temporary override that bypasses legal safety protections.
How do I know if a sensor has completely failed?
If a sensor shows no light (on a model known to have LEDs) despite verified power and intact wiring, the internal logic has likely failed and requires replacement.
Does sunlight really affect garage door sensors?
Absolutely. It can “overpower” the infrared beam. Shading the sensor or adjusting its position slightly to avoid direct glare usually solves this.