
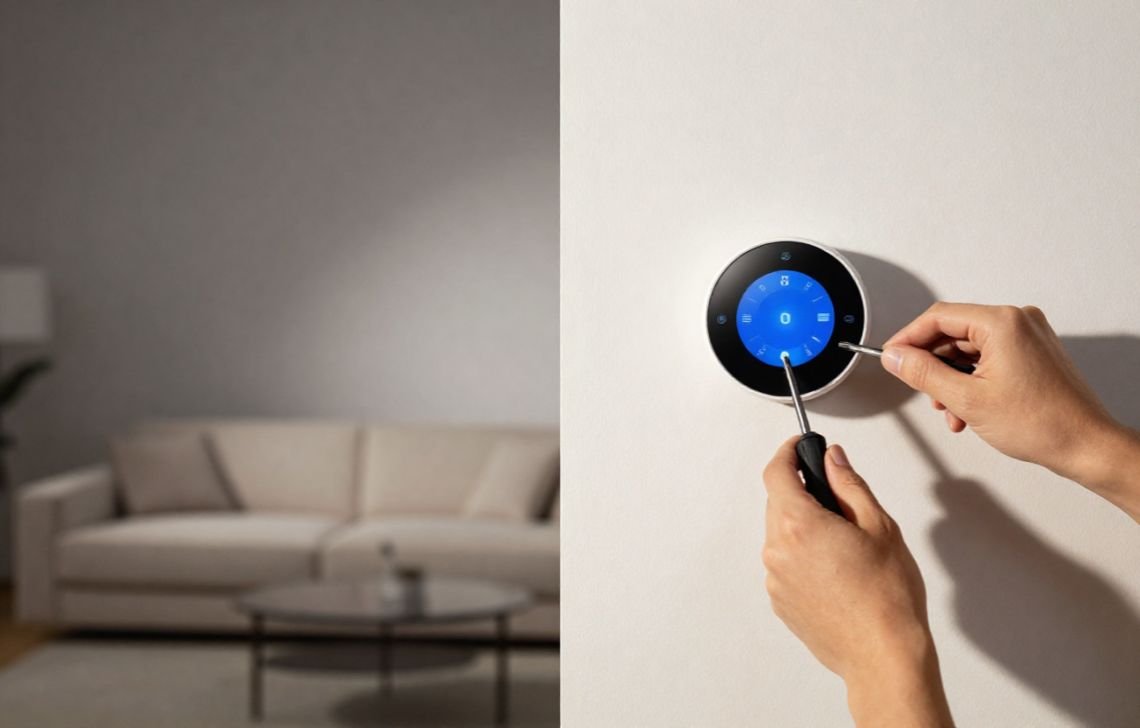
Installing a smart thermostat typically involves turning off power to your HVAC system at the breaker, labeling existing wires based on terminal codes, and mounting the new device using its mobile app for final configuration. The process generally takes between 30 and 60 minutes and requires basic household tools like a screwdriver and a level.
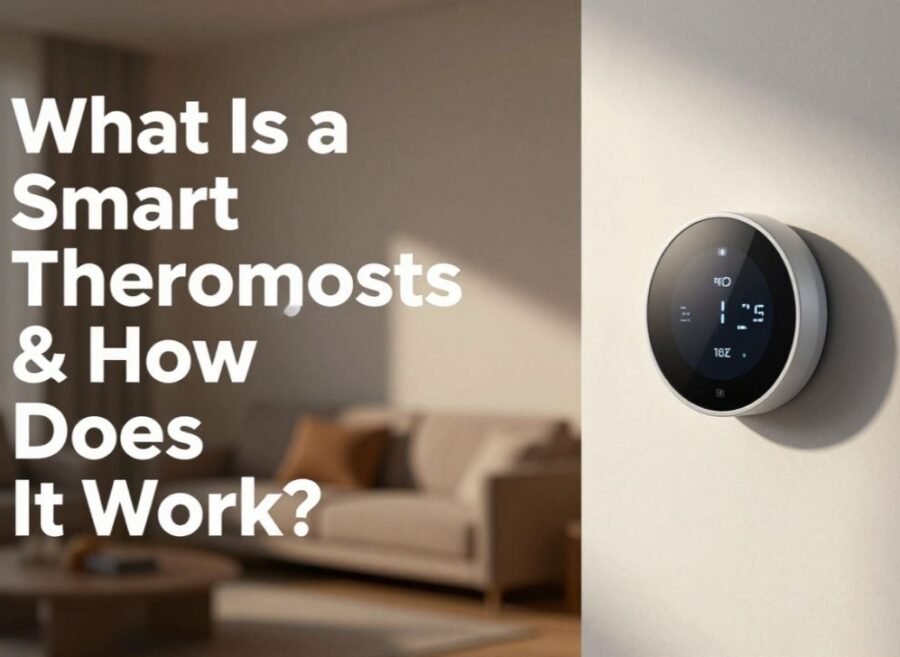
A smart thermostat is a Wi-Fi-enabled device that allows you to manage your home’s climate and energy consumption remotely via a smartphone. Upgrading to a smart model offers several high-value benefits:
- Energy Savings: Automated scheduling and seasonal adjustments significantly reduce utility bills.
- Remote Control: Adjust your home’s temperature from anywhere in the world.
- Automation & Learning: Many models learn your habits to optimize comfort without manual input.
- Utility Incentives: Many utility providers offer financial “Bring Your Own Thermostat” (BYOT) programs, such as SRP’s $100 bill credit or instant rebates at their marketplaces.
This guide provides a comprehensive, expert-backed roadmap to transition your home from a traditional manual dial to a modern smart system.
Before You Start (Important Preparation)
Successful DIY projects are built on preparation. Before opening your new device, verify that your home is ready for the upgrade.
System Compatibility & Voltage Warning
Verify compatibility using the manufacturer’s online tools (like those provided by Nest or Cync) before unboxing. If you haven’t chosen a thermostat yet, check our guide to the best smart thermostats before purchasing.
CRITICAL SAFETY WARNING: If you remove your old faceplate and see thick wires joined by wire nuts or wires marked 110V, 120V, or 240V, you have a high-voltage system. Common smart thermostats are low-voltage devices and are completely incompatible with high-voltage wiring. Attempting to install them on these systems can result in fire or permanent damage to your HVAC equipment.
The C-Wire Requirement
Smart thermostats require constant power, usually supplied by a Common (C-wire). If your home lacks this wire, you have several reliable alternatives:
- Power Extender Kits (PEK): Often bundled with brands like Ecobee.
- Nest Power Connector: A specific, affordable solution for Google Nest users.
- Third-Party “Add-a-Wire” Adapters: Universally compatible hardware that provides the necessary power.
Expert Timing Advice
John Galeotafiore, who manages thermostat testing for Consumer Reports, offers a vital pro-tip: Never attempt a thermostat replacement during extreme weather (deep freezes or heatwaves) or right before hosting guests. If you encounter a technical glitch, you do not want to be without heat or AC when it is needed most.
Required Tools List
- Screwdriver (Phillips and Flathead)
- Drill with a 1/4” bit (required for wall anchors)
- Level
- Pencil
- Smartphone with the manufacturer’s app pre-installed
Safety Tips to Follow
Working with HVAC wiring is safe if you follow these non-negotiable protocols:
- Power Protocol: Turn off the HVAC system at the breaker panel. To confirm the power is truly off, try to adjust the temperature on your old thermostat and listen for the equipment to engage. If nothing happens, the system is safe to handle.
- Wire Documentation: Take a high-quality photo of your original wiring before disconnecting anything. This is your “insurance policy” if you need to revert the system.
- Labeling Logic: Use the provided stickers to label your wires based on the terminal codes (R, W, Y, G, C, etc.), NOT the color of the wire insulation. Standard color coding is often ignored by original installers.
How to Install a Smart Thermostat
Step 1: Remove the Old Thermostat
Gently pull off the faceplate. If it resists, check for hidden screws near the bottom. Once the wires are exposed, remove any “jumper” wires (small loops connecting terminals like Rh to Rc). Modern units usually handle these connections internally. Do not discard your old thermostat; keep it as a backup in case you need to revert the system later.
Step 2: Disconnect Wires
Release the wires from their terminals by loosening the screws or pressing the release tabs.
- Pro-Tip: Once disconnected, wrap the wires around a pencil or tape them to the wall to prevent them from slipping back into the wall cavity.
Step 3: Install the New Mounting Plate
Pull the wires through the center of the new backplate. If the old holes are visible or the wall is unpainted, use the optional trim plate provided by the manufacturer. Use your level to ensure the plate is straight, mark the holes with a pencil, and drill (using the 1/4″ bit for anchors if necessary) before screwing the plate into the wall.
Step 4: Connect the Wires
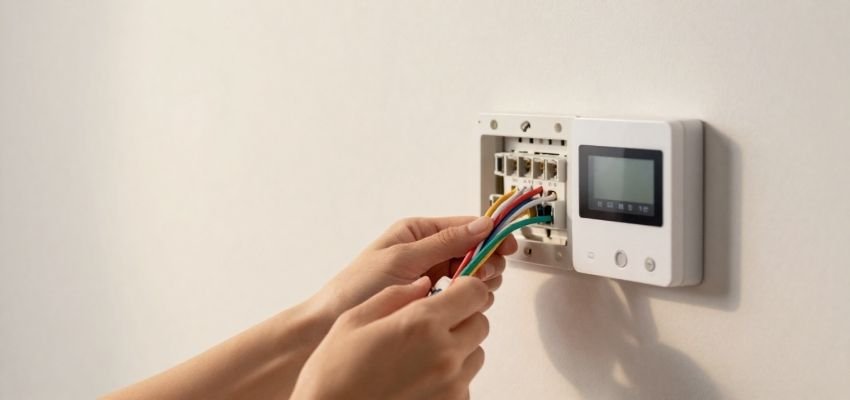
This is where DIYers often feel the most anxiety, but it’s straightforward: match your labeled wires to the corresponding terminals on the new base.
- Heat Pump Warning: If you have a heat pump, ensure the O/B labeled wire is inserted into the O/B terminal. This is the most common installation error.
- Terminal Levers: Most smart units use terminal levers. Press the button or lever on the side, slide the wire in, and ensure it feels firm.
Step 5: Attach the Smart Thermostat
Align the device over the baseplate. Ensure no wires are protruding or blocking the connection pins. Gently snap the thermostat onto the base until you hear a click.
Step 6: Power Restoration
Flip the breaker back on. The device should immediately begin a “boot up” sequence.
Set Up and Configure the Thermostat
Once the screen lights up, the rest of the process is digital:
- Connectivity: Follow the on-screen prompts to connect the device to your home Wi-Fi.
- App Integration: Open the companion app (e.g., Cync, Nest). Manufacturer Nuance: For GE Cync devices, you must complete the app setup within 30 minutes of powering on. If you miss this window, you can re-enable setup mode by removing and re-attaching the faceplate.
- Initial Preferences: Set your schedules immediately. To maximize energy savings, follow ENERGY STAR’s thermostat recommendations and use a temperature setback of a few degrees when you are away or asleep.
Common Installation Mistakes to Avoid
- The “Color Trap”: Again, never wire by color. Always follow the terminal labels.
- Poor Placement: Avoid installing near direct sunlight, drafty windows, or heat sources. Ideal placement is on an interior wall, 4–6 feet high.
- Loose Connections: A loose C-wire or R-wire is the leading cause of “no-power” issues or intermittent Wi-Fi drops.
Troubleshooting Tips
- No Power: Ensure the faceplate is fully snapped onto the base and the breaker is on.
- HVAC Not Responding: Reference your wiring photo. If you have a heat pump and your AC is blowing hot air (or vice versa), the O/B wire is likely misplaced.
- Wi-Fi Issues: Check signal strength at the wall and ensure the app has all necessary location permissions enabled on your phone.
When to Hire a Professional
You should call an HVAC technician if you encounter high-voltage (110/120V) wiring, complex multi-stage systems, or if you feel uncomfortable handling electrical components. Think of a professional service fee as “insurance” against the high cost of repairing a shorted-out air handler or furnace.
Conclusion
By taking the time to label your wires and verify compatibility, you’ve successfully modernized your home’s most important system. You can now enjoy the convenience of smartphone control and the long-term financial benefits of a truly efficient home.
FAQs
Do all smart thermostats need a C-wire?
Most require it for consistent Wi-Fi connectivity. If your home lacks one, use a Power Extender Kit (PEK) or, for Google users, the Nest Power Connector.
Can I install this myself if I’m not an electrician?
Yes. If your system is low-voltage, these devices are designed for DIY installation with basic household tools.
What do I do with my old thermostat?
Keep it. If you move or the smart device fails, you’ll want the original unit to restore functionality quickly.
How do I know if my system is high-voltage?
Look for wire nuts and thick wires. If you see “110V,” “120V,” or “240V” markings on the old thermostat or wiring, it is high-voltage and incompatible with standard smart thermostats.
How much can a smart thermostat save me?
Savings vary, but you can maximize them by setting the thermostat roughly 7–10 degrees from its normal setting for 8 hours a day (e.g., higher in summer while at work). Many utilities also offer $100 credits just for signing up for energy-saving programs.