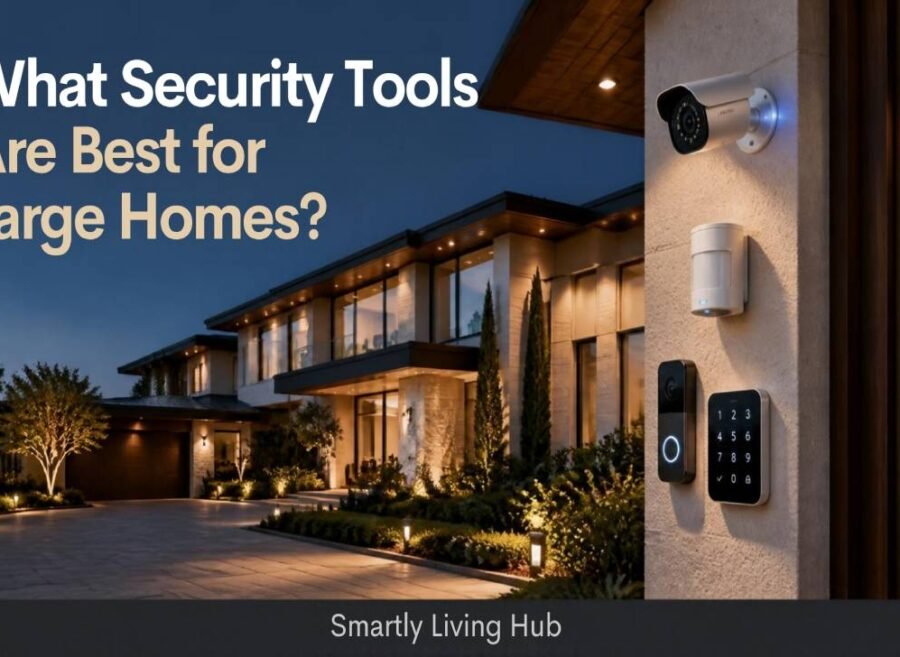

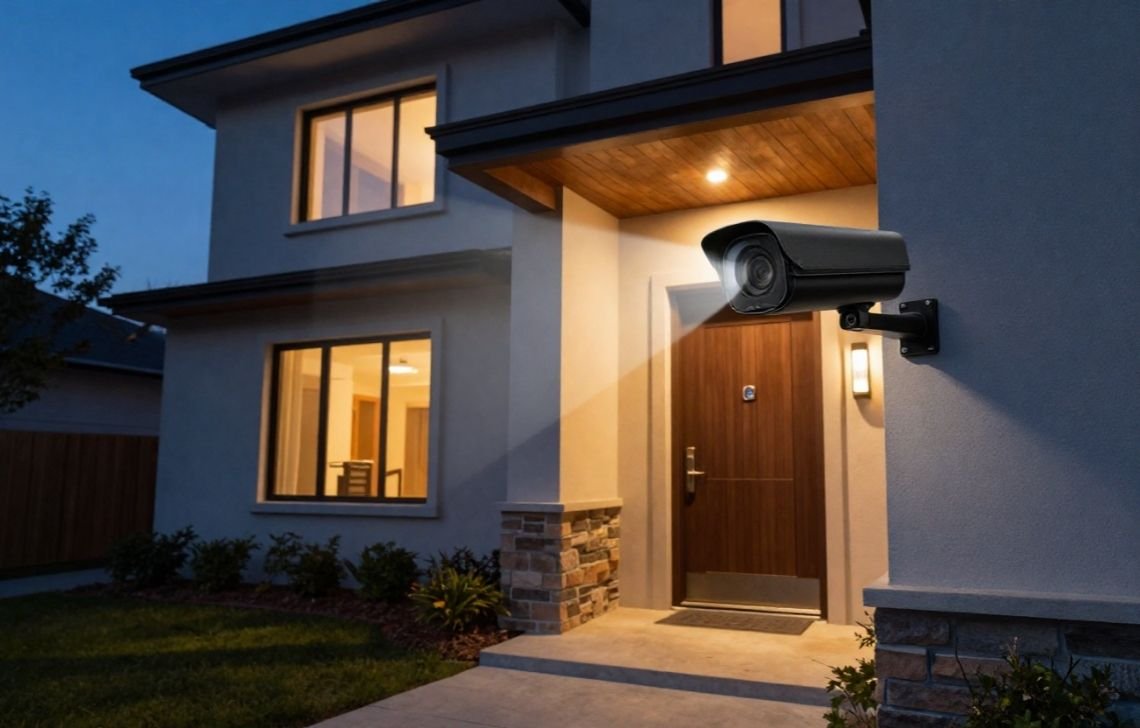
If you are wondering where to place outdoor security camera, the best locations are the front door, back door, garage and driveway, first-floor windows, backyard, and side gates. For most homes, outdoor cameras should be mounted about 8 to 10 feet high and angled slightly downward to capture faces, entry points, and approaching movement while reducing tampering and glare.
The most effective placement for outdoor security cameras is 8 to 10 feet high, positioned to cover primary entry points such as the front door, back door, and all first-floor windows. This height is the “sweet spot” that balances a wide field of view with the ability to capture high-resolution facial details necessary for identification.
Placement is the decisive factor in security effectiveness. Even the most advanced hardware will fail if it is improperly positioned; strategic placement acts as a visual deterrent while ensuring that any recorded footage serves as actionable evidence rather than a collection of blind spots. Many homeowners fall into common pitfalls that compromise their systems, such as mounting cameras so high they only record the tops of heads, pointing lenses directly into the sun (causing “whiteout”), or attempting to use indoor cameras to monitor the outdoors through glass.
Why Proper Camera Placement Matters
Strategic Deterrence
Visible security cameras create a psychological barrier that prevents crime before it begins.
- The Visual Deterrent Effect: According to research published in the Journal of Development Economics, visible surveillance cameras have a statistically significant impact on deterring potential intruders.
- Boundary Reinforcement: Placing cameras along your property’s perimeter signals to trespassers that the risk of capture is high, often causing them to bypass your home for an easier target.
Operational Efficiency
Correct placement eliminates architectural blind spots and ensures your system’s motion detection triggers accurately. When a camera is positioned correctly, it captures human movement across its field of view, which is the most reliable way to trigger recording and alerts.
Reducing “Alert Fatigue”
One of the greatest threats to a home security system is “alert fatigue”—the tendency to ignore notifications because they are frequently triggered by non-emergencies. Proper positioning reduces false alerts from swaying tree branches, passing cars, or pet activity, ensuring that when your phone pings, you know it is a real emergency.
Best Locations to Place Outdoor Security Cameras
1. Front Door (Most Important)
The front door is your highest priority. Industry statistics reveal that one-third of burglars enter a property through the front door. This camera is essential for monitoring package deliveries, tracking service providers, and deterring “porch pirates.” Using a video doorbell or a camera with two-way audio allows you to interact with visitors remotely, providing a layer of security even when you aren’t home.
2. Back Door
Back and side entrances are high-risk zones because they are often shielded from the view of neighbors and the street. Intruders target these secondary entry points to work in private. Cameras here should be mounted at the 8 to 10-foot range to prevent tampering while capturing the full doorway and the path leading to it.
3. Garage and Driveway
Garages are prime targets because they house high-value assets like vehicles, tools, and bicycles. A wide-angle camera is recommended here to monitor the entire driveway and any walkways. Motion-activated cameras in this zone can capture vehicle details and license plates, which are crucial for police reports.
4. First-Floor Windows
Ground-level windows are common “breaking-and-entry hotspots,” particularly those obscured by bushes, fences, or large trees. For maximum protection, you should combine cameras with window sensors to create a layered defense that alerts you the moment a window is tampered with.
5. Backyard and Garden Area
Backyards are frequently the least visible part of a property. Monitoring this area protects detached assets like sheds, pools, or expensive outdoor furniture. Placing cameras at the corners of the house provides broad coverage of the yard and any approach routes an intruder might use.
6. Side Entrances and Gates
Side gates and alleys are often ignored but provide easy access to your perimeter. Monitoring these pathways allows you to spot a trespasser the moment they enter your property line, long before they reach a door or window.
Quick Reference Checklist
Location | Primary Threat | Ideal Camera Type | Consultant Tip |
Front Door | Package theft, forced entry | Video Doorbell / Smart Camera | Use two-way audio to give delivery instructions or deter loiterers. |
Back Door | Hidden entry, trespassing | Bullet or Turret Camera | Ensure the camera is weatherproof and has strong night vision. |
Garage/Driveway | Vehicle theft, tool theft | Floodlight or Wide-Angle Camera | Set motion zones to exclude the street to avoid false alerts. |
Ground Windows | Breaking & entering | Motion-activated Camera | Angle the camera to see the window and the yard approach. |
Backyard | Vandalism, asset theft | High-Res Night Vision Camera | Link with motion-activated lights to startle intruders. |
Side Gates | Perimeter breach | Compact Outdoor Camera | Position at the start of the path to catch faces early. |
Where to Place Outdoor Security Camera: Ideal Height and Angle
The "Sweet Spot"
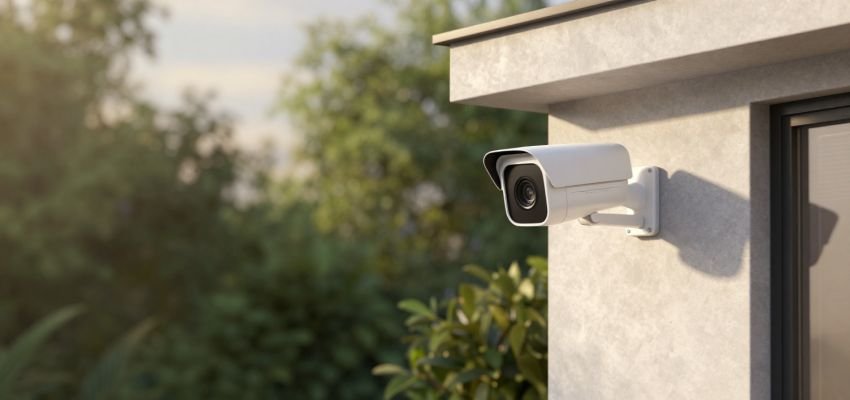
Maintain a consistent height of 8 to 10 feet for all outdoor cameras. This is low enough to capture clear facial features and license plate details but high enough to remain out of reach of a criminal attempting to disable or steal the device.
Facial Recognition vs. Wide Coverage
To avoid “whiteout” or glare, follow the Rule of Thumb: always angle the lens slightly downward and away from the horizon. Capturing too much of the sky will cause the camera to adjust its exposure to the bright light, leaving the ground and any human activity in dark, unusable shadow.
Common Placement Mistakes to Avoid with Outdoor Security Camera
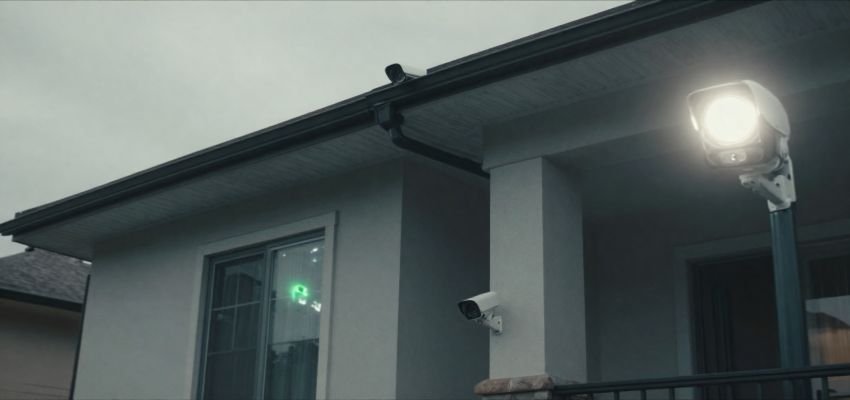
- Installing Too High: Mounting cameras on second-story eaves usually results in footage of the tops of heads, which is useless for identification.
- Pointing at Direct Sunlight: Direct sun exposure causes major glare and can degrade the sensor over time. Expert Tip: Position cameras facing North or under eaves to minimize sun exposure.
- Ignoring Architectural Blind Spots: Be mindful of your home’s layout. Gutters, pillars, or protruding walls can block your camera’s view, providing a “safe zone” for intruders to hide.
Placing Indoor Cameras Behind Glass: Never use an indoor camera to look through a window. PIR (Passive Infrared) sensors cannot function through glass, and the infrared night vision will reflect off the window, blinding the camera at night.
Wired vs. Wireless and Solar Considerations
Connectivity and Bandwidth
Your placement is often limited by Wi-Fi signal strength. High-resolution cameras require significant bandwidth: plan for 1 to 2 Mbps for standard definition and up to 5 Mbps for 4K streaming per camera. For detached garages or far-reaching driveways, utilize a Wi-Fi range extender to maintain a stable connection.
Solar Specifics
Solar cameras offer flexibility but require specific placement. They must receive several hours of direct sunlight daily. Avoid placing them under deep eaves or tree cover; shadows will prevent the battery from charging, leading to system failure during critical moments.
Weather and Environmental Factors
Protection Standards
Ensure your cameras meet durability standards. Look for an IP65 or IP67 rating, which confirms the device is weatherproof against rain, snow, and dust.
Visual Clarity
Environmental debris like rain spots, pollen, and dust can degrade image quality by up to 30%. Clean your lenses monthly using a microfiber cloth and lens cleaning solution to remove oily residue and maintain clarity.
Night Vision Optimization
While most outdoor cameras have infrared (IR) night vision, you can achieve Color Night Vision by combining IR cameras with motion-activated LED lighting. This provides superior detail and can effectively startle an intruder.
Legal and Privacy Considerations
The “Reasonable Expectation of Privacy”
Under the 4th Amendment and the landmark case Kyllo v. United States, the home is a protected space. The court ruled that a home is protected from surveillance even when conducted from a public or private location outside the property.
Dos and Don’ts
- Do Not point cameras at neighbors’ windows, bedrooms, or bathrooms.
Do angle your cameras to show that the primary intent is protecting your own property. If a portion of a neighbor’s yard is visible, it is generally acceptable as long as you aren’t looking over a privacy fence or into a private dwelling.
Pro Tips for Maximum Security Coverage
Layered Defense
Implement Overlapping Coverage Zones. Position cameras so that one camera’s field of view begins exactly where another’s ends. This ensures an intruder cannot disable one camera without being recorded by another.
Pre-Installation Protocol
Before permanently mounting, conduct a 24-Hour Trial:
- Check Wi-Fi stability during peak household usage.
- Verify video quality at different sun angles (check for glare).
- Monitor night-time performance for IR reflections or dark spots.
Smart Integration
Sync your cameras with smart lights and home systems. Having outdoor lights flash or turn on when motion is detected adds a massive psychological deterrent and significantly improves the quality of recorded video.
Conclusion
Effective security requires a full perimeter approach. By securing ground-floor entries and maintaining your cameras at the proper height, you build a formidable defense. To finalize your plan, perform this Intruder’s Perspective Checklist:
- Vulnerability Check: Are there large fences or overgrown trees/bushes providing cover for a burglar?
- Entry Review: Are your doors “cheap” wooden models or do they have old window frames that are easy to pry?
Dark Spots: Identify the darkest corners and most hidden windows—these are the first places you should mount your cameras.
(FAQs)
How many cameras do I actually need?
For an average 1,500–2,500 sq. ft. home, four to six cameras is the standard. This covers the front door, driveway, backyard, garage, and primary indoor living zones.
Can I use an indoor camera to look through a window?
No. PIR-sensitive motion detection does not work through glass, and the infrared night vision will reflect off the window, rendering the footage useless after dark.
Is professional installation required?
While most systems are DIY-friendly, hybrid systems like Vivint that require running wires through walls often benefit from professional installation to ensure connectivity and optimal placement.
How do I prevent my camera from being stolen?
Mount cameras at a minimum height of 9 feet to keep them out of reach. Additionally, use tamper-resistant housing or protective cages for cameras in accessible areas.
What objects do burglars target most?
Burglars look for “CRAVED” items: products that are Concealable, Removable, Available, Valuable, Enjoyable, and Disposable. This includes portable electronics, jewelry, cash, and watches. Focus your interior and garage cameras on these specific assets.